Quick overview:
- Go to dashboard
- Click Add product
- Upload one or several products
- Upload the front view of your product
- Upload the back view (mandatory if you want to generate a back view)
Optional:
- Select a gender
- Enter a title
- Enter an SKU
- Write a description
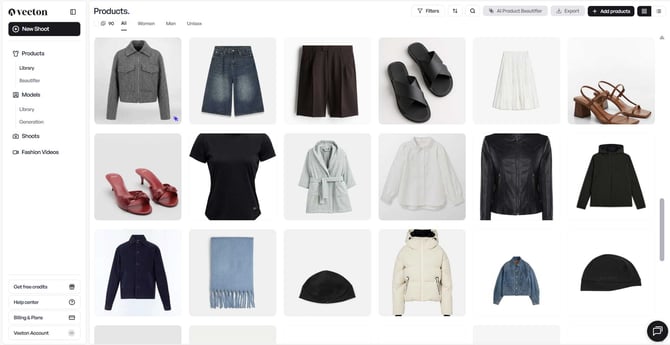
Upload from product library
You can upload your product packshots directly into the Product Library, which serves as the central place where all your SKUs are stored and organized. All fields (Title, Reference, Gender, Description) are optional and only help you keep your products organized.
1. Choose your upload method
You can upload products in two different ways depending on your workflow.
a. Single upload (one product at a time)
Use this option if you want to upload a product individually and optionally add its back view immediately.
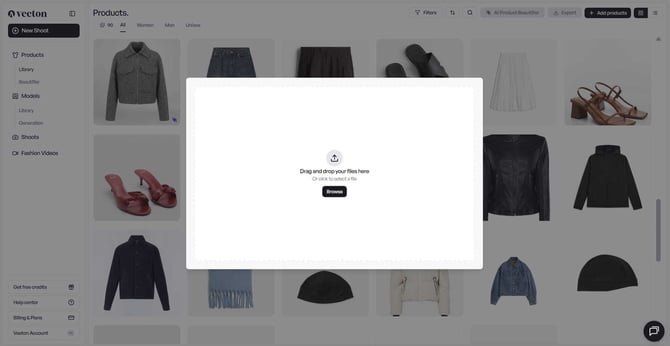
- Go to the Product section in the left sidebar.
- Open Library.
- Click Add product.
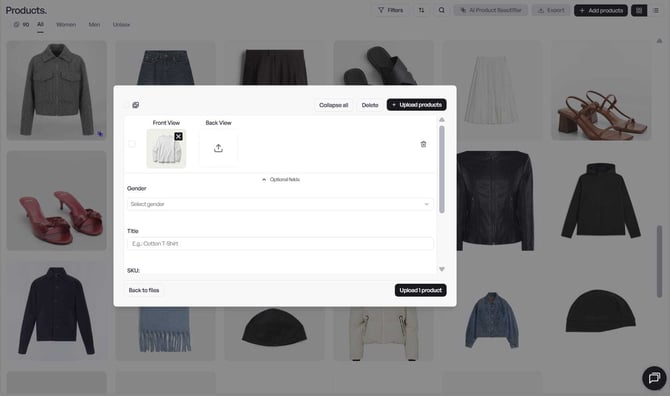
- Upload your product’s front view.
- (Optional) Add the back view of the same product.
This method is ideal if you want to review or complete product information as you go.
b. Batch upload (multiple products at once)
Batch upload allows you to import many SKUs quickly.
Important recommendation:
When batch uploading, upload only the front views first.
If you upload front and back views together, Veeton will treat the back view as a separate product.
Once the batch upload is complete, you can open each product and manually link the back view to the correct SKU.
Steps:
- Go to Product, then Library.
- Click Add product.
- Upload multiple front-view images at once.
- After upload, open each SKU and add the back view if needed.
This ensures your library stays clean and avoids duplicate products.
2. Add product information (Optional)
These fields are not required for AI generation but help you keep your library organized:
- Gender: Men, Women, Unisex
- Title: e.g., “Cotton T-Shirt”
- Reference: internal SKU code, e.g., “SKU‑12345”
- Description: short text to identify the product later
You can click Expand All to open all optional fields at once, which is helpful when editing multiple products.
3. Finalize the upload
- Review your product details.
- Click Upload product to confirm.
- Your product will appear in the Products tab, ready to be used in an AI photoshoot.
4. Beautify your products (Optional)
From the Product Library, you can also beautify your packshots before generating a photoshoot.
- Select one or several products directly from the Library.
- Click AI Product Beautifier
- Choose whether you want a flatlay or ghost mannequin result.
- Launch the beautify generation.
Each beautify generation costs 1 credit.
Click here to learn more about the Beautify feature.
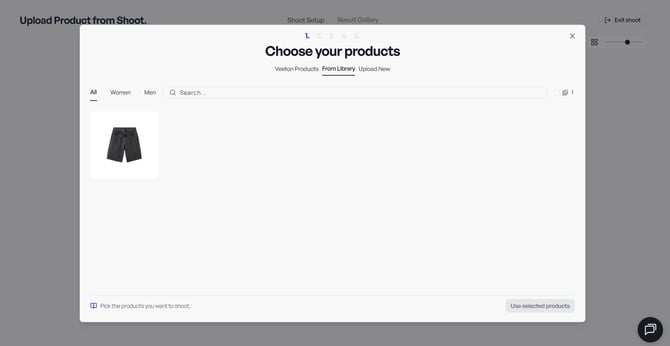
Upload directly from the shoot
Uploading products directly from the shoot setup is simple and fully integrated into the workflow. When you start a new shoot, Veeton will ask whether you want to:
- Use Veeton’s suggested products
- Use products already stored in your Library
- Upload new products
If you click Upload New, you’ll be able to select one or several files directly from your computer.
Once your images are uploaded, the process is the same as in the Product Library:
- After uploading all the front views of the products you need, add the back view for any product that requires one.
- Fill in the optional fields (Gender, Title, Reference, Description, etc.) if you want to keep your products organized.
- Continue with your shoot setup.
Note: The Choose your product step refers only to the main product of the shoot. This is different from the Styling items section, where you can upload additional garments to create a complete look.