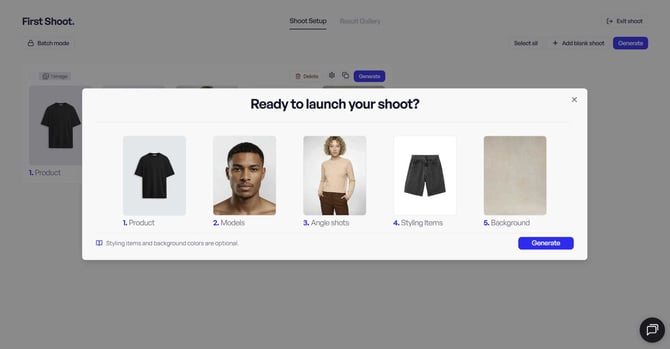
Quick Overview :
- Click “New shoot”
- Upload new products
- Select the product you want to choose
- Select the model you want to showcase the product
- Select the angle shot & pose
- Select the styling items that best fits with the product
- Select the background natural, neutral or vivid
- Let's generate!
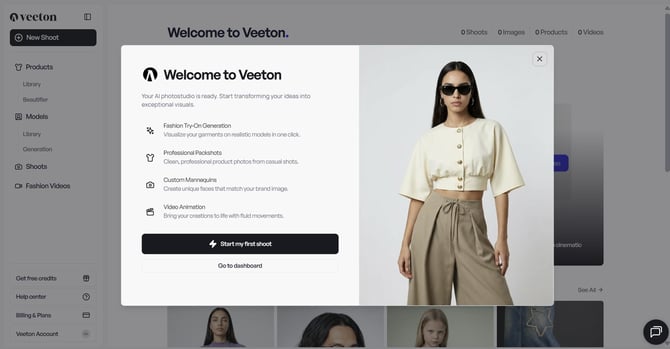
How do I start a new shoot in Veeton?
When you first arrive on Veeton:
- Click “Launch my first shoot”
- Or from the dashboard homepage, click Create New Shoot in the Quick Actions section.
Or, at any time, use the New Shoot button in the left-hand sidebar for quick access.
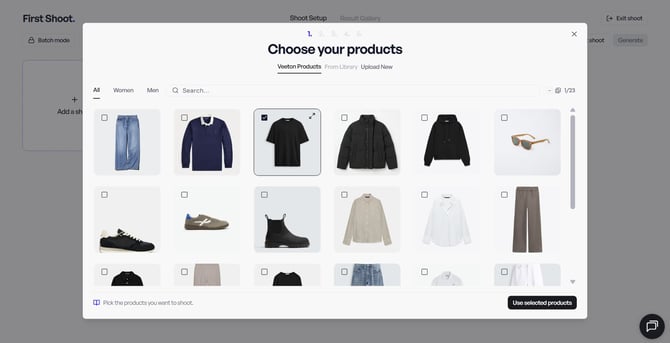
How to select the clothing items (SKUs) you want to generate?
Before starting your AI photoshoot, you first need to select the clothing items (SKUs) you want Veeton to generate.
- Upload new products and choose the SKUs you want to shoot.
Here, you’re only selecting the shoot’s main product. Styling and matching the look come later.
How to choose your virtual model?
Once your clothing items (SKUs) are selected, the next step is to choose the virtual model who will wear them in your AI-generated fashion photos:
- Select a model from the AI generated model library displayed on the screen.
- Click on babie, kid, teen or senior to filter the model’s age.
Veeton offers a diverse selection of models, including various ages, genders, body types, and skin tones.

If the models available in Veeton’s library don’t perfectly fit your brand’s needs, you can create a custom virtual model directly in the platform. Click here to follow the tutorial.
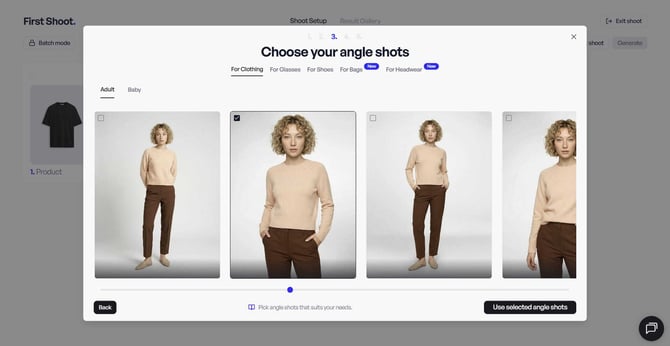
Choose the angle shot
Selecting the right shooting angle and pose is essential to showcase your product effectively in Veeton’s AI-generated fashion photos. This step defines how your garment will appear on the virtual model.
- Select Angle & Pose : Full Body, Upper Body, and Back View — Hands in pockets, relaxed posture, engaged posture etc.
- Click on babies, kids to find appropriate postures.
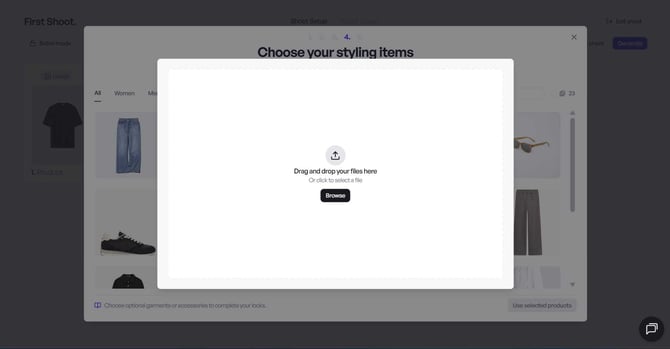
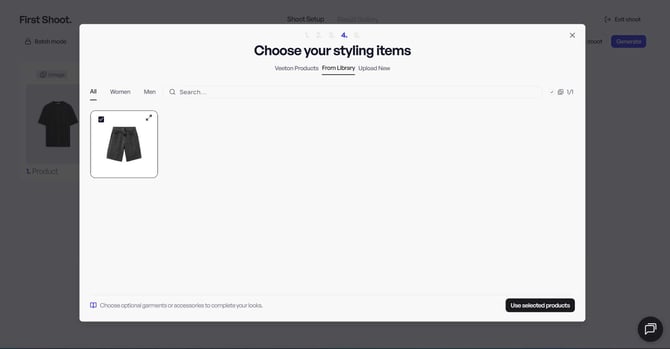
Choose the style
Once you’ve selected your main SKU, you can now complete the look with up to 3 additional items to create a full outfit or styled look:
- Select up to 3 additional garments (tops, bottoms, coats, or accessories) to complete the look.
- If you don’t have any items to pair with your main garment, you can skip this step and we’ll select the most suitable garment for your product during generation.
This feature is ideal for cross-selling or presenting your collections as styled ensembles for e-commerce product pages and lookbooks.
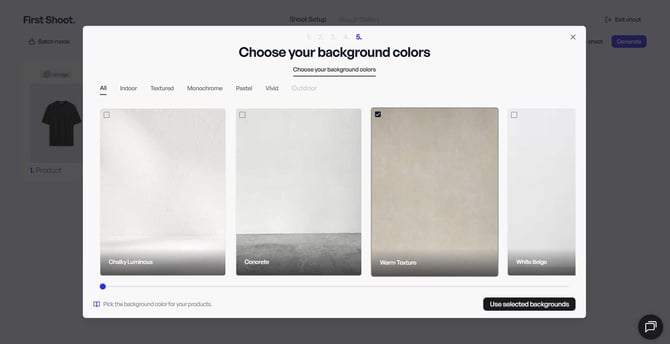
Choose the background
Once your outfit is defined, you can choose the background style that will appear behind your virtual model. This step helps you align your visuals with your brand identity and the context of use (e-commerce, campaigns, social media, etc.).
- Browse the background library and select from different environments (studio, lifestyle, outdoor, minimal, etc.).
- Use filters or categories (e.g. studio, urban, natural) to quickly find the most relevant backgrounds for your shoot.
- Preview how your product and model will look with each background before confirming your selection.
If you’re not sure which background to choose, you can start with a neutral studio background for a clean e-commerce look, then experiment with more creative environments in your next shoots.
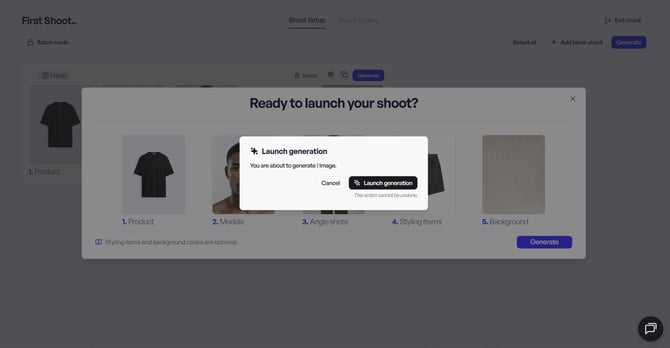
Pricing for a generated image
Few thing to know before generating :
- Each image generation costs 1 credit. However, if this is your first shoot on Veeton, it’s completely free! You’re currently on a free trial, and no credit card is required.
- If you have already used your free trial, you can find more information about our pricing here.
After launching generation
Processing Time
- The generation typically takes only a few minutes.
- While your shoot is processing, you can continue browsing your dashboard or start preparing your next upload.
Preview the Results
- Once complete, your generated images will appear in the Shoots section and under Recent Shoots on your dashboard, ready for download and use.
Resume a shoot
You can go to your photo shoot and resume it with a different look by simply going to your shoot, then:
- Click on “Photo shoot setup,” and “Add a blank”
.jpg?width=670&height=897&name=image-71482%20(1).jpg)
Read our article on Veeton's pricing to find out how to remove watermarks!